Wednesday 29 September 2010

orb tutorial

in this tutorial i was taught how to make a orb. i was taught how to make it part of the picture and how to make a light reflection on her skin. the tools we used were a very smooth and large brush and our own scatter brush that we were shown how to make. another thing we used to create this look was the quick mask tool.
i like the orbs but i didnt use them in my final outcome because they would of looked out of place

Tuesday 28 September 2010

drawing tablet

i used a drawing tabelet to create my picture because i found it easyer to use a tablet do draw curved lines. i also used a tablet because when you colour you can be more acurate with the colouring. another reason is because you cant get much control with a mouse

tutorials i used

for the eyes i had used a step by step tutorial on how to create that look.

health and safety

in order to be safe at a computer we have to take eye brakes so we dont develop any illnes in our eyes or get headackes. we can do this by either looking away from the screan every now and again or going on 15 minuets eye brakes.another thing that we have to do is we have to sit in the upright position so we dont get back ackes. and dont damage our back bone

Monday 27 September 2010

work in progress

first of all i started with a ruff sketch of what i wanted to draw after all my research
then i started to draw the lineart and colour in the skin

once i had finished colouring in the bace colours for her clothes and hair i created the background. i tryed to make the background look like she was in water and the sun was shining through. and the way i created this look was i hade a layer of blue and ontop of that i made a layer with white lines were i whant the light to be. i blured the white lines with gaussian blur. and then after that i added a layer of black and then blurred it again and changed the opacity.
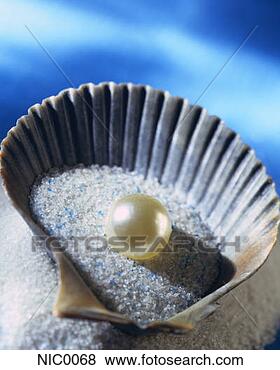
but then i wasn't happy with he desighn so i re drew her. i made her hair like this because it looks more different to other hair desighns, i also changed her dress and added pearls to it so that you could tell she was ment to represent a pearl. i also gave her a teara/head band to make her look important
then i coloured her in. i added shading to her clothes and hair by using a soft brush in a darker vetion of the base colour. i drew the lineart for the background  wich were ment to be sea wead

i coluored the shell. i added a rainbow tint onto the edge of the shell because when i looked at shells they had a oaple look. i did this by colourning a rainbow around the edge of the shell but on a seperate layer than the shell and i then lowered the opasity of the layer
and then finaly i colured in the background with a  round fan stiff thin bristles brush to make the plants in the background and then i added a layer of ontop of everything and changed the opacity to make it look like she was in water

final pice

if i were to do this again i would have put the bubbles on a diferent layer so that i could change the opacity of the bubbles and make them smoother. i also would have made the lineart thinner so they are less visible.
i used photoshop for this picture because it lets me create alot of diferent type of efects.
i like her eyes and the shaiding that i have done on her clothes and hair because they give it some depth

Thursday 23 September 2010

oyster shell research

after looking at pictures of oyster shells i have noticed that there are 2 diferent insides of an oyster shell. the first type is that he inside is a bright shiney silver/white and te second type is that the inside of the shell is a dull brown or gray. i have decided that for my poater i will use a dull gray/brown for the insid of my shell because i dont want the shell to take away the focus of the girl .
another thing that i have noticed is that the shell has indented lines starting from the bottom of the shell going outwards to the top of the shell